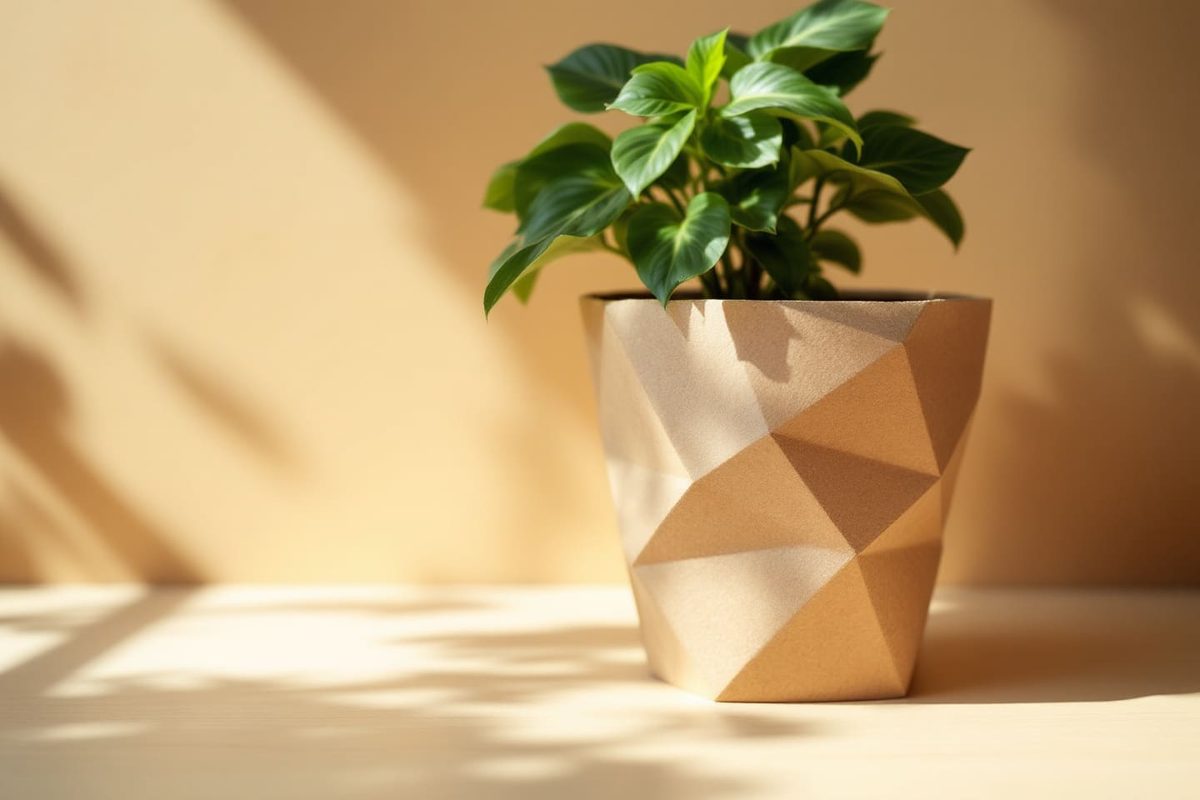
Forget the soulless plastic pots gathering dust on your shelves. There is a simple, creative, and eco-friendly alternative taking over home decor projects: recycling cardboard into genuine, sturdy decorative objects. In an era where every small action counts toward reducing waste, turning destined-for-the-trash boxes into chic plant containers offers a double win. You act concretely for the planet without breaking the bank, and you inject a fresh dose of pep into your home or balcony. The trick? A homemade mixture of flour and water that transforms old boxes into robust, aesthetic creations. It is time to grab your scissors and apron, reviving a forgotten material while bringing a little greenery into your daily life.
Zero-Waste Potential: Turning Boxes into Adorable Planters
Packaging boxes accumulate quickly, whether you live in a city apartment or a country house, often without a clear second life. Yet, their potential is largely underestimated. Raw cardboard—even from a simple delivery box—holds versatility ideal for creating custom flower pots. The process is straightforward: assemble, shape, and reinforce these cardboard pieces to create containers suitable for herbs or flowering plants.
By choosing this approach, you replace the recycling bin with creative reinvention. Not only is each pot unique, but it also respects a zero-waste logic without sacrificing style. Far from standardized products, DIYing your own pots brings the satisfaction of seeing your plants grow in a handmade object designed to last and fully personalized.
The Magic Duo: How Flour and Water Create Sturdy Objects
The secret to making cardboard planters that can actually hold soil and moisture lies in the application of a specific paste. This is not just about gluing boxes together; it is about creating a hardened shell. The combination of standard all-purpose flour and water creates a natural adhesive and hardening agent that plastic glue simply cannot replicate.
Here is why this method works so well for DIY planters:
- Natural Hardening: As the flour paste dries, it forms a rigid, ceramic-like coating. This prevents the cardboard from collapsing under the weight of the soil.
- Moisture Resistance: While cardboard disintegrates when wet, a thick layer of dried flour paste acts as a barrier, buying you time before the moisture penetrates the cardboard fibers.
- Cost-Effective: Flour is cheaper and more sustainable than specialized waterproofing sprays or epoxy resins.
- Non-Toxic: Using food-grade ingredients ensures no harmful chemicals leach into your soil or plants, which is crucial if you are growing herbs or vegetables.
To get started, you will need basic materials. You do not need expensive tools. A mixing bowl, a whisk, and a paintbrush are sufficient. Use a ratio of roughly one part flour to two parts water, stirring until you achieve a smooth, lump-free consistency similar to pancake batter. If the mixture is too thin, it will run; too thick, and it will crack.
Safety Note: While the materials are non-toxic, ensure your workspace is protected. Flour paste can stain surfaces. Lay down newspaper or a drop cloth. Also, be mindful of moisture control. Even with the flour coating, cardboard is not fully waterproof. Avoid overwatering your plants, and consider placing a small plastic liner inside the finished pot if you plan to keep sensitive plants that require
The Science Behind the Strength
The difference between flimsy packaging and a garden-ready vessel comes down to basic chemistry. It isn’t magic. It’s just flour and water.
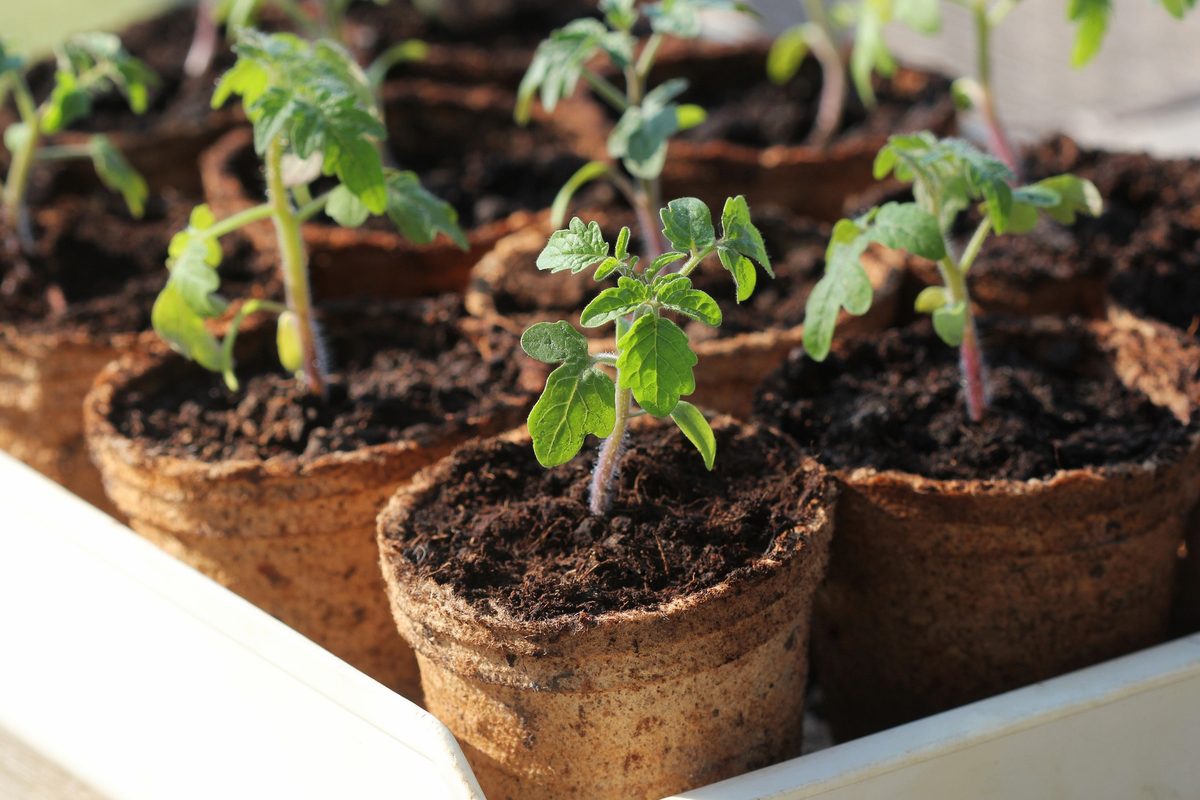
Mix them, and you create a natural adhesive that hardens into something surprisingly rigid. Think of it as paper mache for containers. No toxic glues. No industrial resins. Just food-grade ingredients that turn cardboard into a semi-permeable, sturdy pot.
Here is what you need for a 10cm-high pot:
- 200g of cardboard (cut into strips or chunks)
- 2 tablespoons of wheat flour
- 100ml of water
- A mixing bowl and a paintbrush
- Kraft paper or newspaper (optional, for finishing)
The glue is the critical step. Whisk the flour into the water until smooth. Heat it gently for a few minutes to thicken it slightly. Let it cool. Now the cardboard absorbs this mixture. As it dries, it cures. The result is a hard, durable shell ready for soil.
Customizing for Style and Function
Once dry, the pot is a blank canvas.
Acrylic paint works well. So do scraps of fabric, twine, or lace. Collage old magazine clippings. Use geometric shapes or natural tones to match your decor. You can even line the interior with a thin layer of vegetable wax. This adds waterproofing to the bottom without ruining the eco-friendly nature of the project.
The goal is unique. Make it fit your space.
Integrating Zero-Waste into Daily Life
These pots fit anywhere.
Kitchen herbs. Living room decor. Window sills. Their modular size means you can grow a tiny cactus or a full mint plant.
Making them is social. Do it with kids on weekends. Host a workshop with friends. It slows you down. It connects you to materials. It turns trash into treasure.
Next time a package arrives, don’t toss the box. See the potential. It’s not waste. It’s the start of something that will grow creativity and sustainability in your home.