Spring is here. The urge to fix the house is strong. But there is one task that stops most homeowners cold. It is the soldering iron. I used to avoid it too. I thought it was dangerous. Complicated. Expensive.
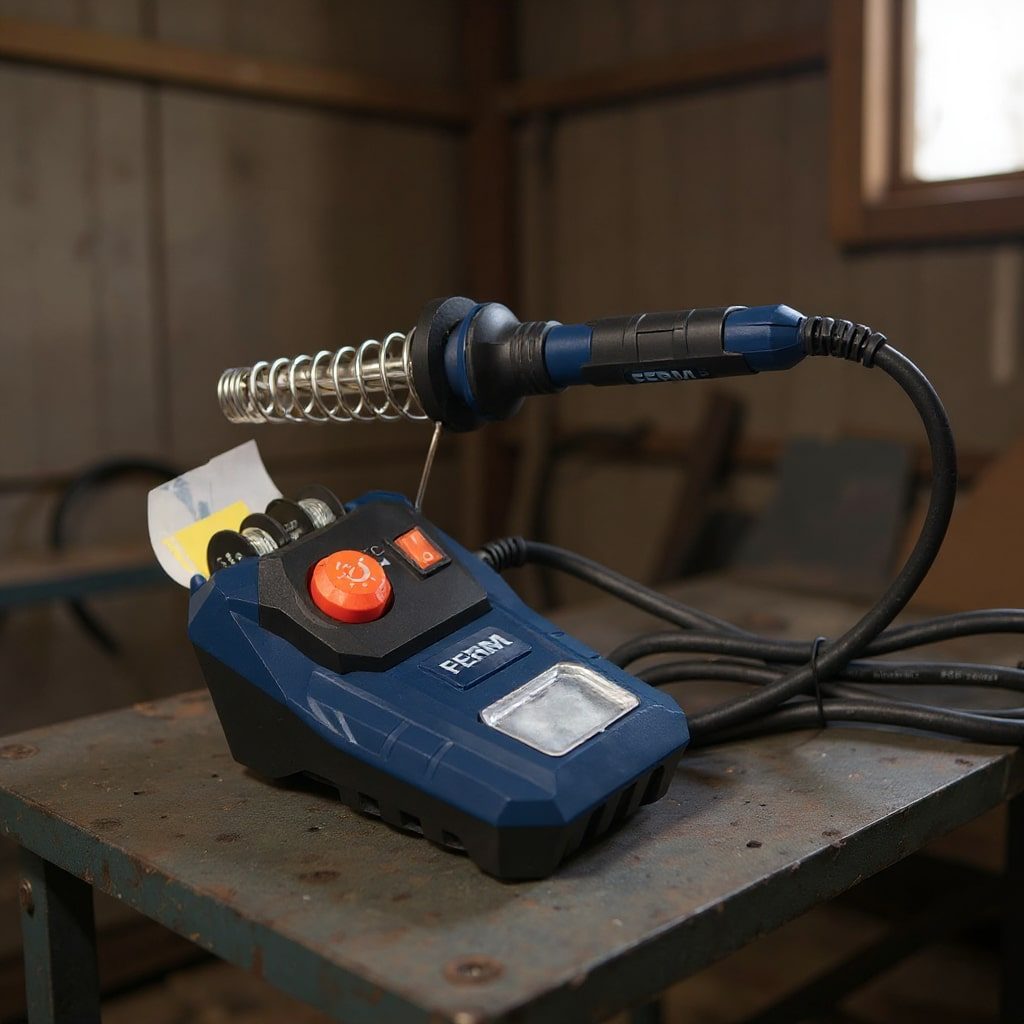
Then I walked into Action. I saw a FERM soldering station. The price tag was $10.97. My fear vanished instantly.
Why Soldering Fears Keep You From Repairing
The sight of a smoking metal tip is enough to make anyone step back. We imagine a professional workshop. We think of expensive gear with fifty settings. We assume only experts should touch it. This mindset is a trap. It keeps us from doing simple repairs.
Think about what ends up in the trash. A toaster with a broken cord. A hair dryer with a loose wire. A lamp that won’t turn on. We throw it away because fixing it seems too hard. It is a waste. The repair takes seconds with the right tool. But we don’t have the tool. Or we think we can’t use it.
Finding the Right Tool for Less Than Eleven Bucks
I was hunting for deals in the DIY aisles. I didn’t expect to find a solution. I found a FERM soldering station. It cost $10.97. This small investment changed my approach. It proved that you don’t need a professional setup to start. You just need the basics.
Is This Beginner-Friendly Soldering Station Worth It?
The FERM unit strips away the intimidation factor. It isn’t a high-end industrial machine. It is designed for entry-level users. You don’t need to understand complex voltage settings. You plug it in. You wait for it to heat up. You touch the tip to the metal. It works.
This price point lowers the barrier to entry significantly. If you are worried about wasting money on a tool you might not use, this is a low-risk start. It allows you to practice on scrap wire. You can learn the timing. You can learn how much solder to apply.
What You Actually Need to Start
You don’t need much. The station comes with a tip. You might want a pair of flush cutters. Some solder wire is essential. It usually comes in the kit. If not, grab a spool. Look for lead-free if you are working on food-related items or have kids around. Standard leaded solder flows better for general repairs.
Safety is simple here. Work in a ventilated area. The fumes aren’t pleasant. Don’t look directly at the smoke. Use a tripod or a holder for the hot iron. Never set it down on a table. You will burn a hole through your workbench. Keep a damp sponge nearby. It cleans the tip and helps it cool down between joints.
Why Your Small Appliances Don’t Belong in the Bin
Most broken electronics fail for simple reasons. A wire snaps. A connection loosens. The plastic casing breaks, but the motor still works. We discard the whole unit. This adds to e-waste. It costs us money.
Soldering fixes the electrical connection. It restores conductivity. It is stronger than a twist-and-tape job if done right. The metal melts and fuses. When it
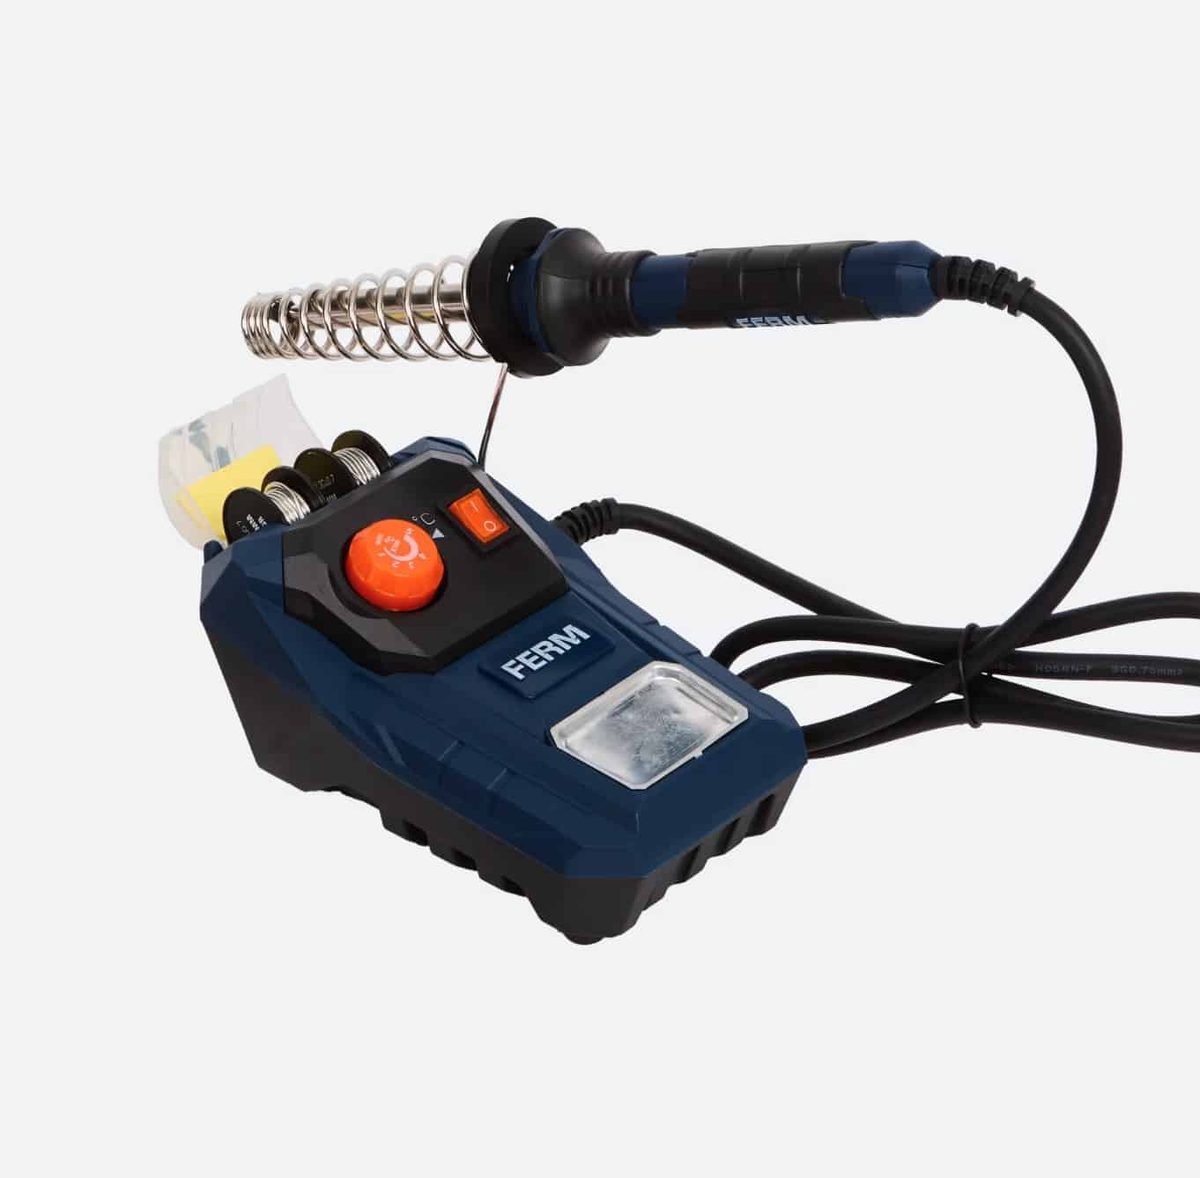
Most people avoid soldering because they assume the equipment is expensive and the learning curve is steep. I used to think the same. Then I spotted a FERM soldering station at Action for just 10.97 euros. That price point removes the psychological barrier to entry. You don’t have to worry about ruining a costly tool if you mess up.
The packaging is basic. It doesn’t promise a professional-grade workshop. But inside, you get exactly what is needed to start immediately. There is no guesswork. The box includes:
- A soldering iron station
- Two solder points
- One spool of solder wire
- An iron cleaning sponge
This is a complete starter kit. No extra purchases required.
Setting up the iron for success
The specs are modest but sufficient for home tasks. The device draws 48 watts of power. That is enough to melt solder quickly without overheating delicate components. The temperature control is a major feature. You can adjust it between 100 °C and 500 °C.
Start at the lower end. If you are working on plastic or thin wires, keep it cool. If you are joining heavier metal parts, turn it up. The wide range means one tool handles multiple tasks.
Before you touch the iron to anything, wet the sponge. This is non-negotiable. A dry sponge turns black instantly and ruins the tip. Keep a small cup of water nearby. Dab the tip frequently. This maintains heat transfer and prevents oxidation.
The first repair
Once the iron reaches your set temperature, the solder wire melts almost instantly. This is where the experience shifts from theory to practice. You apply the wire to the joint, not the tip. The tip heats the metal. The solder flows into the gap by capillary action.
I used it on a broken plastic fixture. The heat softened the material just enough to fuse the pieces. The solder acted as a bridge. It wasn’t a permanent industrial fix. But it held. The object was saved from the recycling bin.
Why this cheap tool works for beginners
The verdict is straightforward. This is an ideal entry-level tool. The price is low enough that failure is financially irrelevant. The manufacturer includes a three-year warranty. That is surprising for a product at this price point. It suggests the build quality is decent.
It eliminates the fear of experimentation. You can practice on scrap wire. You can try different joints. You learn the timing and pressure required without risking a $100 iron.
This kind of accessible tool changes how you view broken items. Instead of throwing them away, you see repair potential. You extend the life of your gear. It is a practical shift in mindset.
Spring is here. The urge to fix things around the house is likely rising. Do you have a broken lamp or a loose handle gathering dust? This small investment pays for itself after the first successful repair. The question is whether you will pick up the iron or leave the breakage as is.